
As the leaves begin to change color and the air carries a chill, pool owners know it's time to start the process of winterizing their backyard oasis. Winterizing your pool is an essential step to ensure its longevity, prevent damage from freezing temperatures, and make reopening it in the spring a breeze. This guide, "Close It Down: How to Winterize a Pool the Right Way," will walk you through the necessary steps to protect your pool through the winter months effectively.
The importance of pool winterization cannot be overstated. Properly closing down your pool prevents the water from freezing and expanding, which can cause significant damage to the pool structure, plumbing, and filtration system. It also helps maintain water quality, reducing the need for extensive cleaning and chemical adjustments when it's time to dive back in. From cleaning and balancing the water to covering it securely, each step plays a critical role in safeguarding your investment.
This article will guide you through the entire winterization process, starting with cleaning and balancing the pool water, to lowering the water level, draining equipment, protecting plumbing with antifreeze, and finally, covering the pool securely. Whether you're a seasoned pool owner or preparing for your first winter closure, these strategies will ensure your pool remains in pristine condition, awaiting the return of warmer days.
Table of Contents: How to Winterize a Pool
Cleaning and Balancing the Water
Before you can think about covering your pool for the cold months ahead, it's crucial to ensure that it's as clean as possible and that the water chemistry is balanced. This foundational step is vital for preventing algae growth and protecting your pool's surfaces throughout winter.
1. Skim, Scrub, and Vacuum: Begin by removing leaves, debris, and dirt. Use a skimmer to remove floating debris, a brush to scrub the walls and floor, and a vacuum to remove settled dirt and debris. This prevents staining and ensures the pool chemicals work effectively.
2. Balance the Water Chemistry: After cleaning, test your water's pH, alkalinity, calcium hardness, and chlorine levels. Ideal levels should be:
- pH: 7.2 - 7.6
- Alkalinity: 80 - 120 ppm
- Calcium Hardness: 180 - 220 ppm
- Chlorine: 1 - 3 ppm
Adjust these levels as necessary using pool chemicals. Balancing the water chemistry protects against corrosion and scale buildup on your pool's surfaces and equipment.
3. Shock the Pool: Apply a heavy dose of chlorine or a non-chlorine substitute to kill any lingering bacteria or algae. This process, known as "shocking," ensures your pool water is sanitized before it's covered. Allow the chlorine level to return to 1-3 ppm before proceeding to the next steps of winterization.
4. Add Winterizing Chemical Kit: These kits often include algaecide and other chemicals that help maintain water quality over the winter. Follow the manufacturer's instructions for the best results.
5. Final Cleaning: After adding the chemicals, run your pool's filtration system for at least 24 hours. This ensures the chemicals are thoroughly mixed and the water is as clean as possible before you proceed to lower the water level and drain the equipment.
Taking the time to clean and balance your pool water not only protects your pool through the winter but also simplifies the process of reopening your pool when warmer weather returns.
Lowering the Water Level and Draining Equipment
Winterizing an inground pool involves more than just covering it; you must also prepare it from within to withstand the cold. Lowering the water level and draining your pool's equipment are critical steps to prevent freeze damage during the winter months. This section will guide you through these essential procedures.
1. Lowering the Water Level: The correct water level for winterization depends on your pool type. For vinyl liner pools, lower the water about 1 to 2 inches below the skimmer. For fiberglass or concrete pools, lower it 4 to 6 inches below the skimmer. Use a submersible pump for this task, ensuring a controlled and efficient water removal process.
2. Draining Pool Equipment: Water left in your pool's equipment can freeze, expand, and cause significant damage. Therefore, it's imperative to drain your filter, pump, heater, and any other water-containing components. For sand or DE filters, set the valve to "winterize" and remove the drain plug. For cartridge filters, remove the cartridge and store it in a dry place after cleaning.
3. Blowing Out the Lines: Use a shop vac or an air compressor to blow water out of your pool's plumbing lines. This step is crucial for preventing water from freezing and cracking the pipes. Once the water is blown out, plug the lines at the pool end to keep water from re-entering. In areas with severe winters, consider adding pool antifreeze to the lines as an extra precaution.
4. Protecting the Skimmer: If you're not using a skimmer cover, place a Gizzmo or similar device in the skimmer to absorb the expansion of any water that might enter and freeze. Alternatively, you can use a skimmer plug to seal the skimmer tightly.
5. Final Checks: After draining the equipment and preparing the plumbing, inspect all pool elements for any remaining water. Small amounts of water can be removed with a sponge or towel. Ensure all plugs, caps, and accessories are stored in a dry place to prevent loss or damage.
By diligently lowering the water level and draining your pool's equipment, you protect your investment from the harsh winter elements. This preventative care ensures your pool remains in excellent condition, ready for the warm days of spring.
Winterizing the Plumbing and Adding Pool Antifreeze
As temperatures drop, ensuring your pool's plumbing is protected against freezing is crucial. Water left in pipes can freeze, expand, and cause costly damage. This section will guide you through winterizing your pool's plumbing and the correct use of pool antifreeze.
1. Blowing Out the Lines: After lowering the water level and draining your equipment, the next step is to remove any remaining water from your pool's plumbing. Using an air compressor or a powerful shop vacuum, blow air through the pipes starting from the pump and moving towards the pool. Continue until only air comes out of the pool returns and skimmer.
2. Plugging the Lines: Once the water is blown out, plug the lines at the pool end to prevent water from re-entering. Use winterizing plugs for this purpose. These plugs are designed to fit snugly into the lines, creating a water-tight seal that prevents any moisture from entering and potentially freezing.
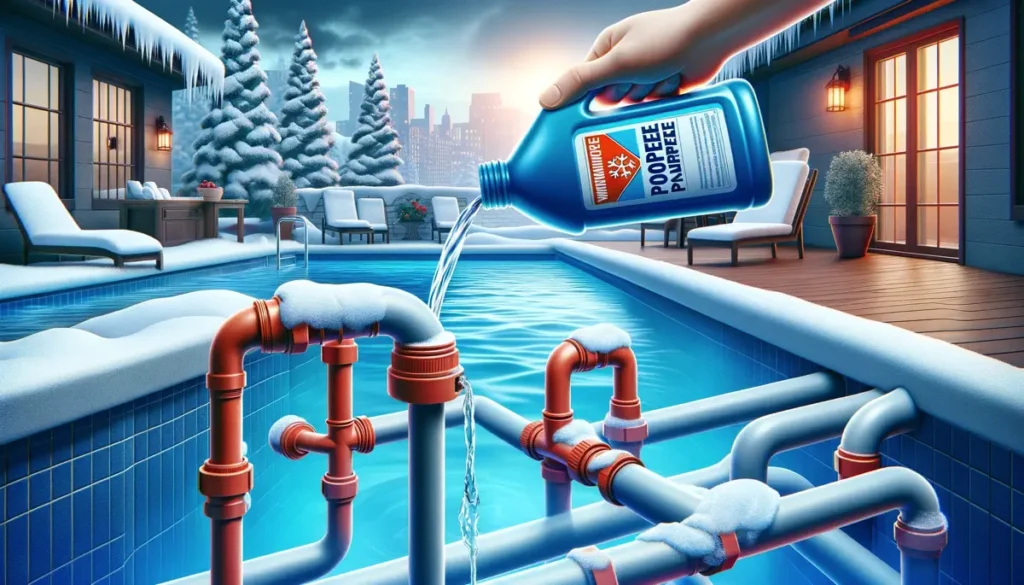
3. Adding Pool Antifreeze: In regions with severe winters, blowing out the lines might not be enough to prevent freezing. In such cases, adding pool antifreeze to the plumbing lines provides an extra layer of protection. Pool antifreeze is non-toxic and specifically designed for this purpose. Pour the recommended amount of antifreeze into each line before plugging them. Ensure you're using antifreeze meant for pools, as automotive antifreeze is toxic and should never be used.
4. Antifreeze for Skimmers: Don't forget your skimmer(s). After blowing out the skimmer lines, add antifreeze directly into the skimmer to protect it from freezing. This step is especially important if you're not using a Gizzmo or similar device designed to absorb the expansion of freezing water.
5. Final Inspection: With the plumbing secured and antifreeze added, conduct a final inspection of your pool area. Ensure all plugs are securely in place and that no water remains in any part of your pool's system. This is also a good time to check that your pool cover is ready for installation.
Winterizing your pool's plumbing might seem daunting, but taking these steps protects your pool from winter's harsh effects. By diligently blowing out the lines, plugging them, and adding antifreeze, you're ensuring a smooth and damage-free opening come spring.
Covering the Pool
The final step in preparing your pool for winter is covering it properly. A well-secured winter cover protects your pool from debris, reduces the possibility of algae growth, and ensures that your spring opening is as straightforward as possible. Here's how to choose and secure your winter pool cover effectively:
1. Choosing the Right Cover: Select a winter pool cover that fits your pool's shape and size. Covers come in various types, including solid covers that prevent water and debris from entering the pool, and mesh covers that allow water to pass through while keeping debris out. Solid covers will require a pump to remove accumulated water and melted snow.
2. Preparing the Pool: Before covering, ensure that all steps for cleaning, balancing water chemistry, lowering the water level, and winterizing the plumbing and equipment are completed. This preparation ensures that the pool is in the best condition under the cover.
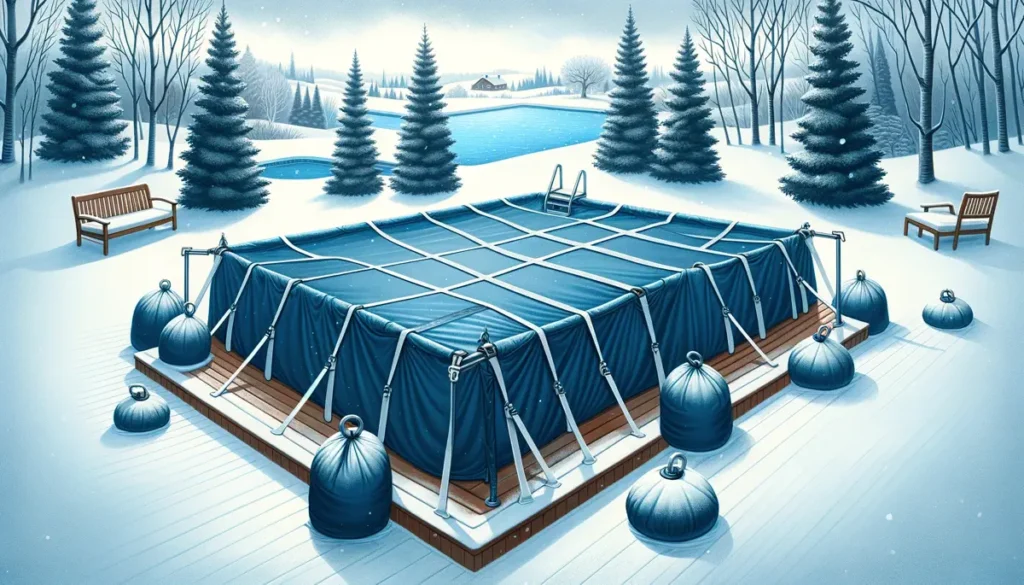
3. Installing the Cover: Place the cover over your pool, ensuring it's centered and covers all edges with a bit of overlap. For above-ground pools, secure the cover with the cable and winch provided. For in-ground pools, use water bags, aqua blocks, or other weights around the perimeter to hold the cover in place. Avoid using bricks or sharp objects that could tear the cover.
4. Securing the Cover: Ensure the cover is taut and secure to prevent wind from getting underneath and causing damage. For extra security, especially in windy areas, consider using cover clips or a cover seal wrap around the pool.
5. Maintenance Through Winter: Periodically check the cover for any accumulation of water or debris. Use a cover pump to remove standing water and a leaf net or broom to clear debris. Proper maintenance prevents damage to the cover and ensures that your pool remains protected throughout the winter.
A securely fastened winter cover is your pool's best defense against the elements during the off-season. With your pool covered, you can rest easy knowing it's well-protected, awaiting the warmth of spring for another season of enjoyment.
Conclusion
Winterizing your pool is a critical maintenance step that ensures its longevity, preserves water quality, and prevents damage from freezing temperatures. By following the steps outlined in this guide—cleaning and balancing the water, lowering the water level, draining equipment, protecting the plumbing with antifreeze, and securely covering the pool—you're taking proactive measures to safeguard your investment. While the process may seem daunting at first, each step is designed to provide the best protection for your pool during the off-season.
Remember, a well-winterized pool is the key to a smooth and efficient opening when the warmer weather returns. By taking the time to close your pool properly, you'll save time, money, and effort in the long run, ensuring your pool remains a source of joy and relaxation for years to come.
As we bid farewell to another pool season, take pride in the care and attention you've given your pool. Come spring, it will be ready to welcome you back for another season of fun in the sun.